For many years hardwood parquet flooring has been considered to be the inexpensive hardwood flooring. The basic pattern of 12 inch by 12 inch squares, made up of four sections of 6″ x 1″ pieces, was seen in high-rise apartment buildings throughout North America, and received the designation of contractor grade parquet flooring
, as shown in Figure 1.
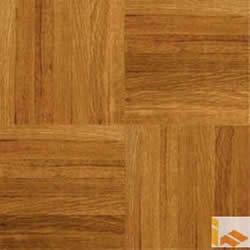
Figure 1 - Contractor grade parquet flooring.
A lot has changed in the past 5 years. Although parquet flooring is still sold in contractor
grades as low as $2 per square foot, many of the larger hardwood manufacturers have created hardwood parquet flooring for upscale installations with prices that exceed regular plank or board hardwood flooring.
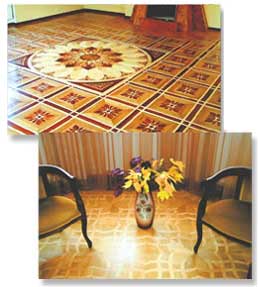
Figure 2 - Parquet flooring with inlay
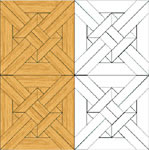
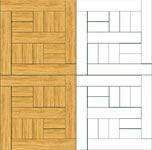
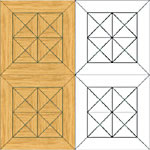
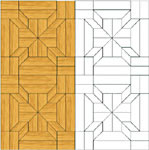
As well, many small hardwood flooring manufacturers are now specializing in the design of unique parquet patterns and custom designs, as shown in Figure 2. As you can see in the picture on the left, some very intricate patterns with inlays are possible. Custom patterns and designs, as shown in the pictures to the left, can run upwards of $20 per square foot.
The new parquet flooring is 3/4 inch thick, similar to the most common of hardwood flooring and is available in all of the standard and exotic hardwoods.
Parquet flooring is easy to install on wood or concrete, although, because it is a hardwood product, care has to be taken when installing it on concrete below grade sub-floors.
Installing Parquet Flooring:
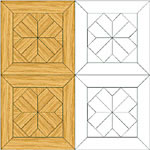
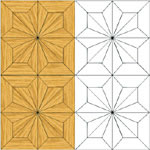
- If you are a novice at installing parquet flooring it is probably wise to dry lay a section of the floor so that you can get a feel for the product. I recommend the use of a drawing to maintain the pattern.
- Parquet flooring, as with any hardwood flooring must be laid on wet adhesive. If your adhesive dries prior to laying the tiles, scrape that portion of the sub-floor and use new adhesive. Most adhesives have a working time of 60 to 90 minutes. Read the adhesive manufacturer's label information for the specific working time of your product. Always stand or kneel on the sub-floor not on the parquet that has just been laid. Standing or kneeling on parquet that has not yet set will cause it to shift. Slide the tiles into position in order to ensure a proper coating of the adhesive on the parquet and on the sub-floor.
- The key to a perfect installation is the correct placement of that all important first parquet tile. Use chalk lines to define the intersecting location of the first tile. If appropriate you can use a straight edged board temporarily nailed into position to align the tiles.
- When installing the tiles do not push them to hard against tiles that are already in place as this could cause those parquet tiles to move. If necessary use blue masking tape to hold the tiles in position until they are set.
- Parquet tiles are manufactured with expansion joints between the wood pieces. Do not hammer the parquet tiles into position as this will collapse the expansion joints and could cause the tiles to go out of square. Setting the tiles with a rubber mallet on the top surface is acceptable.
- Parquet tile should have a 1/2 inch expansion joint at wall intersections.
